Digitizing your shopfloor can feel like navigating in the dark.
Which tools should you choose? Where do you start? How big should the first step be? And how do you avoid over-engineering before you see real value?
Many organizations dream of a full “Rolls-Royce” digital factory from day one. In reality, success comes faster, and with far less risk, when you start small, prove value, and scale with confidence.
This roadmap shows you how to build a pragmatic, phased digital strategy, starting with digital work instructions as the foundation for everything that follows.
Digitization fails most often when everything is attempted at once.
A smarter approach is to define a clear use case, limit the initial scope, and focus on fundamentals, especially if shopfloor digitization is still new to your organization.
Each phase in this roadmap delivers stand-alone value, while also preparing the ground for the next level of maturity.
Ansomat offers a 2-week free trial so you can experience the value firsthand.
Learn more.
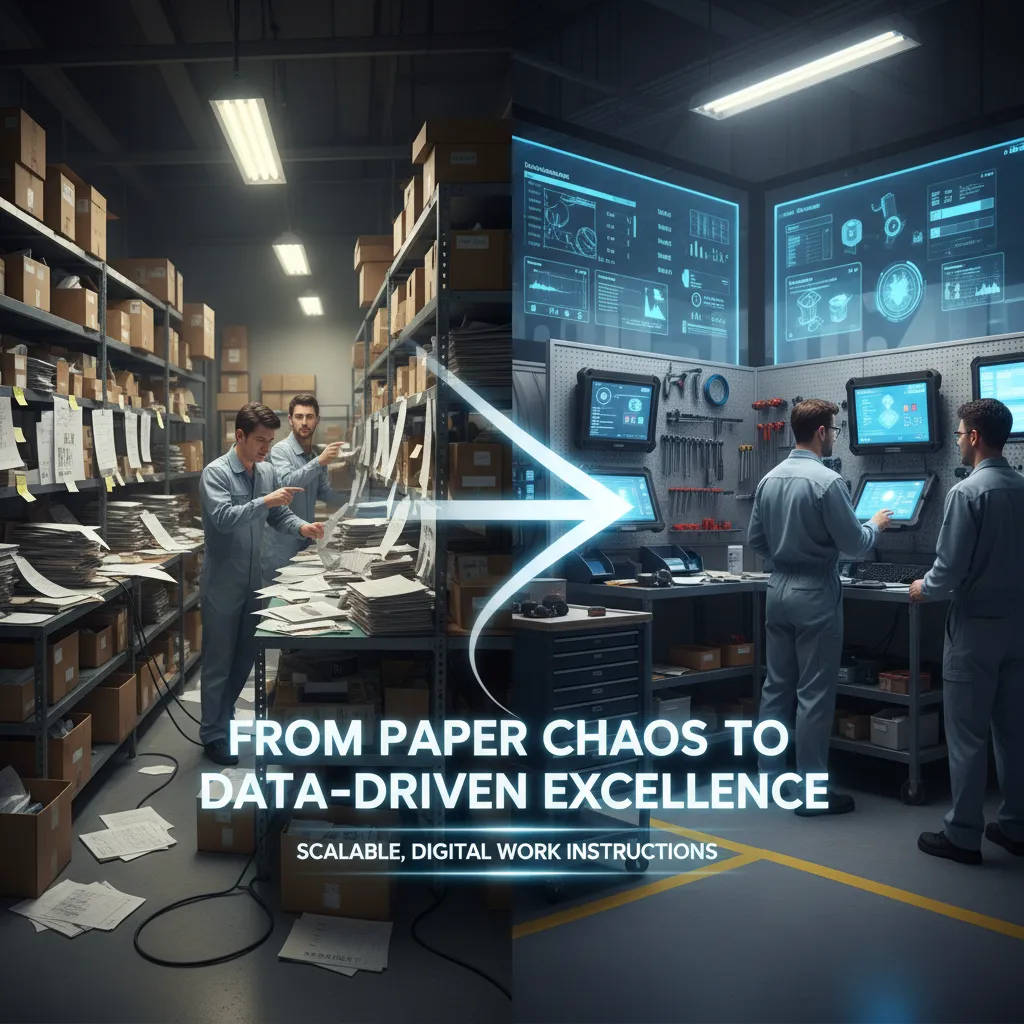
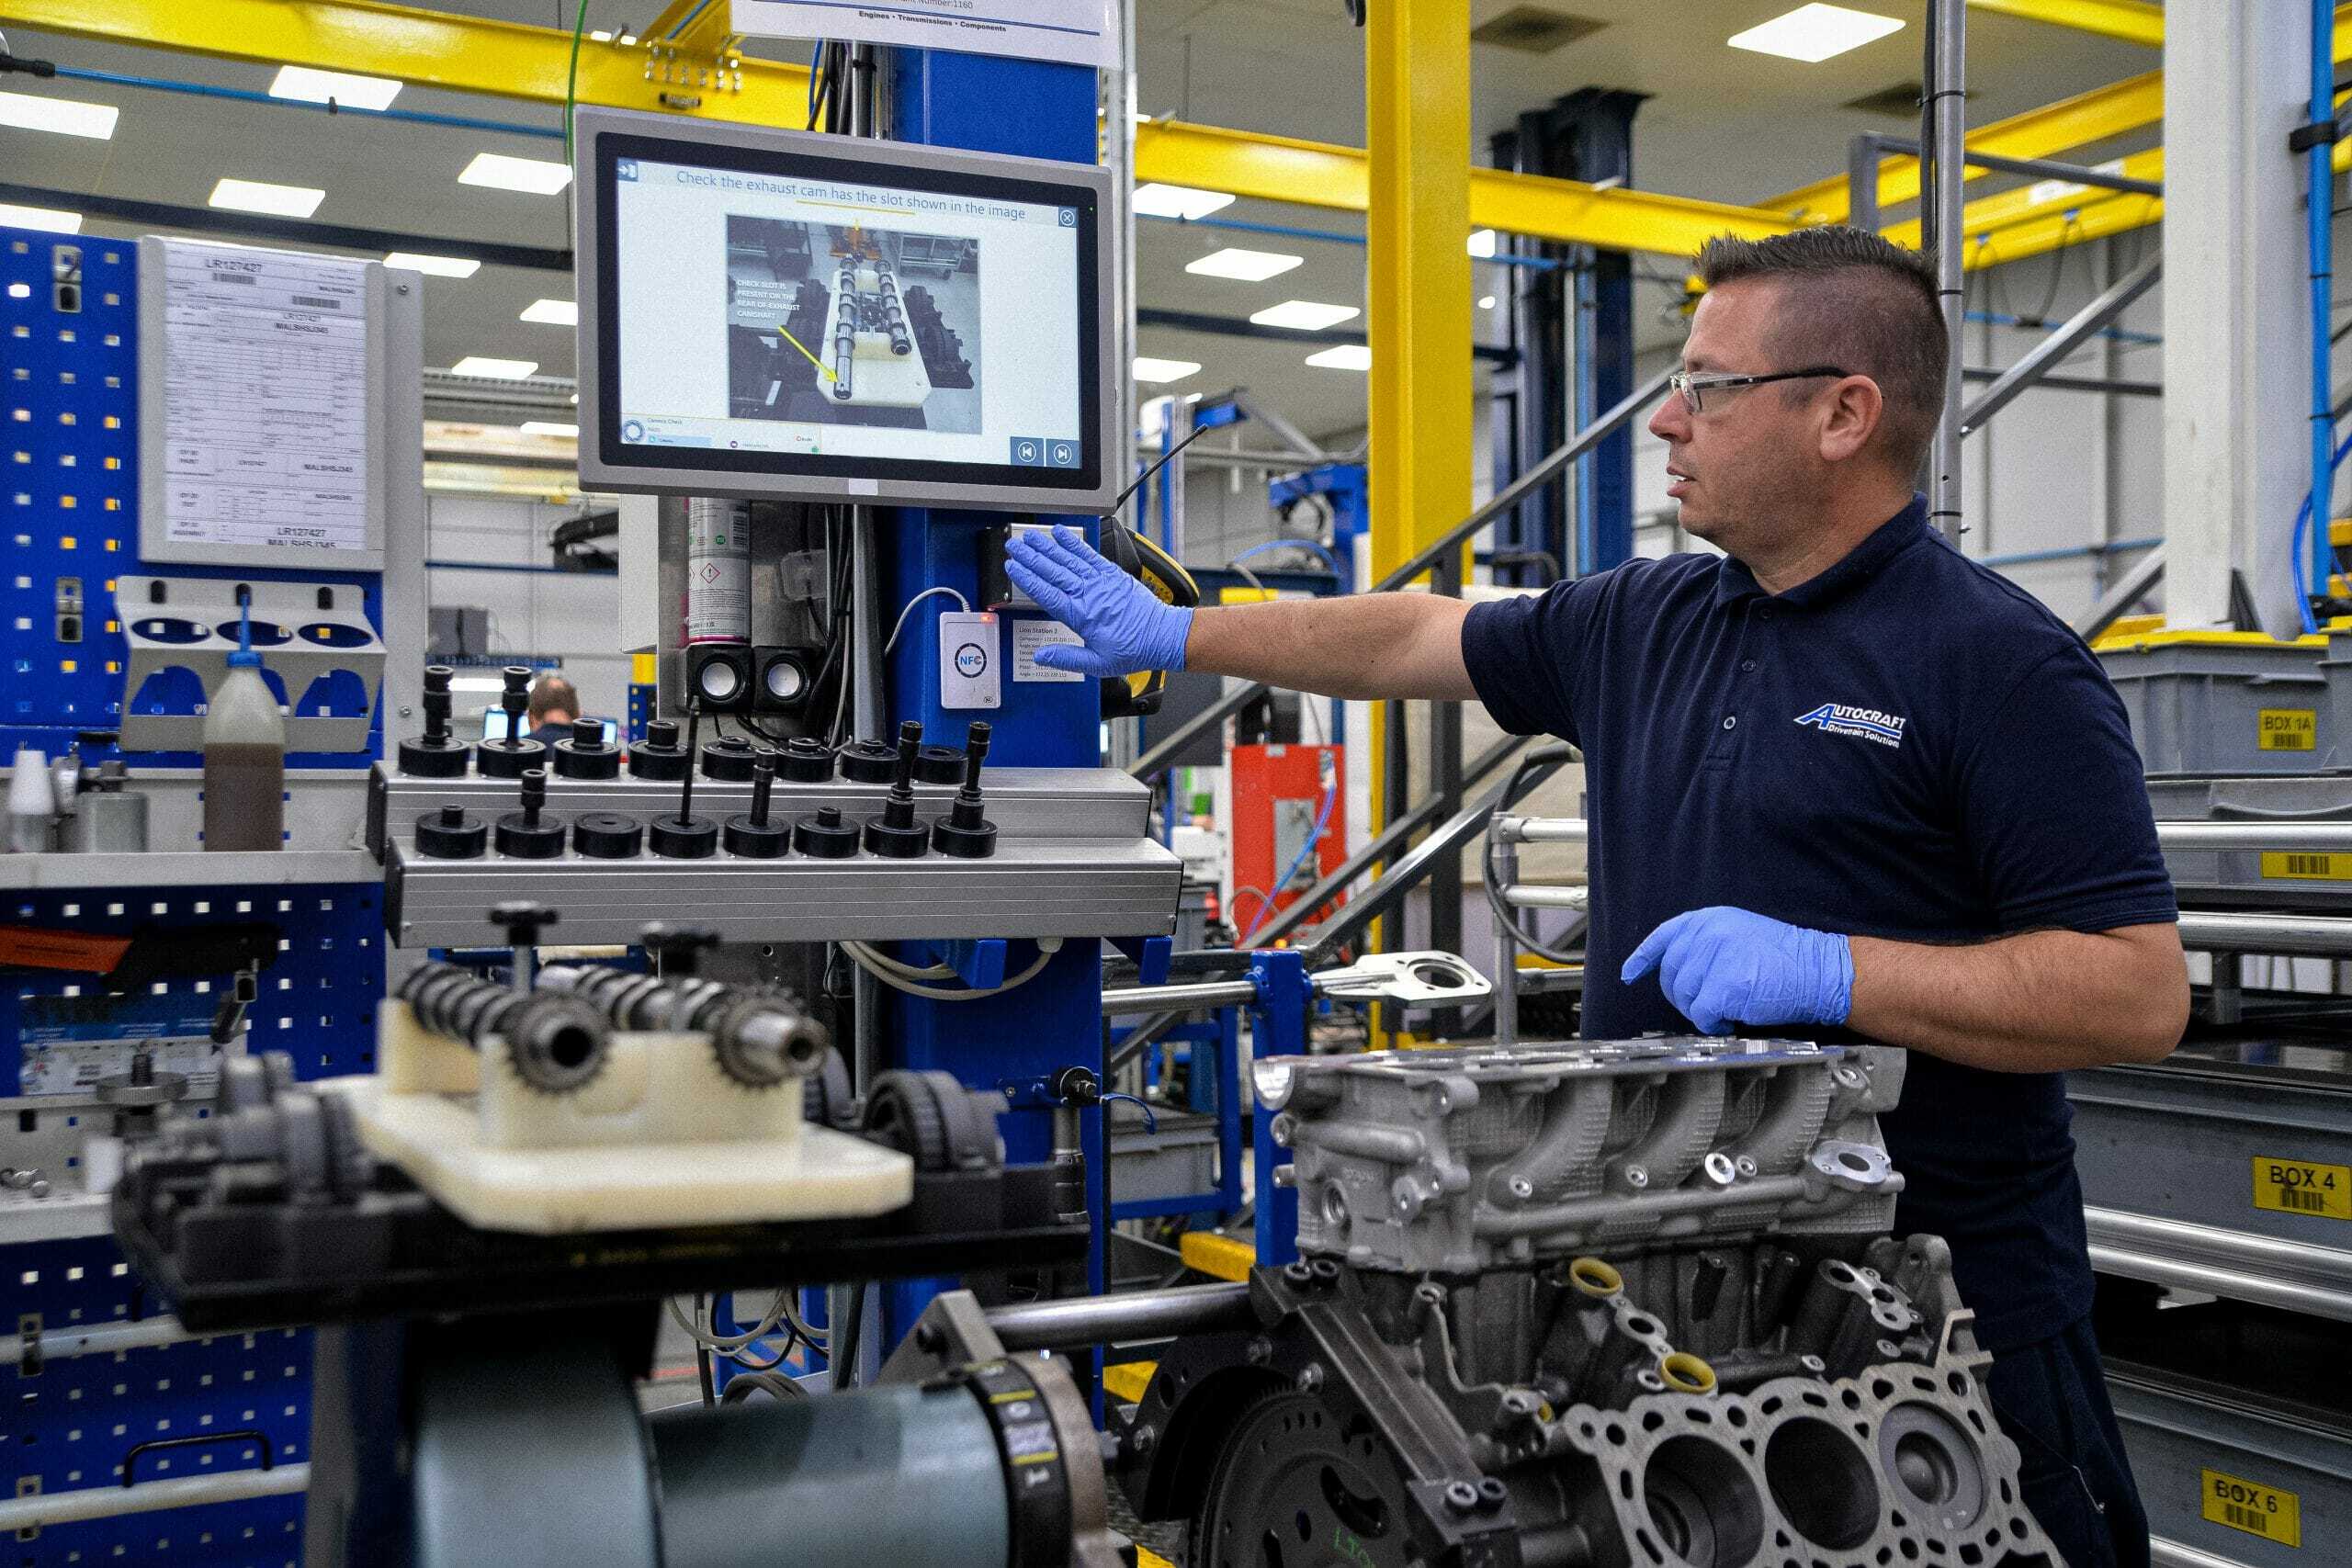
If you are still fully working on paper, this is the first and most impactful step to consider. Moving from paper-based instructions to digital work instruction software represents a major leap forward in standardization, quality, and efficiency on the shopfloor. Digital manufacturing work instructions ensure that operators always follow the latest approved process, reducing errors and variability.
Even digitizing a single workstation using digital work instruction software can deliver immediate value, improving consistency, shortening training time, and increasing overall process transparency.
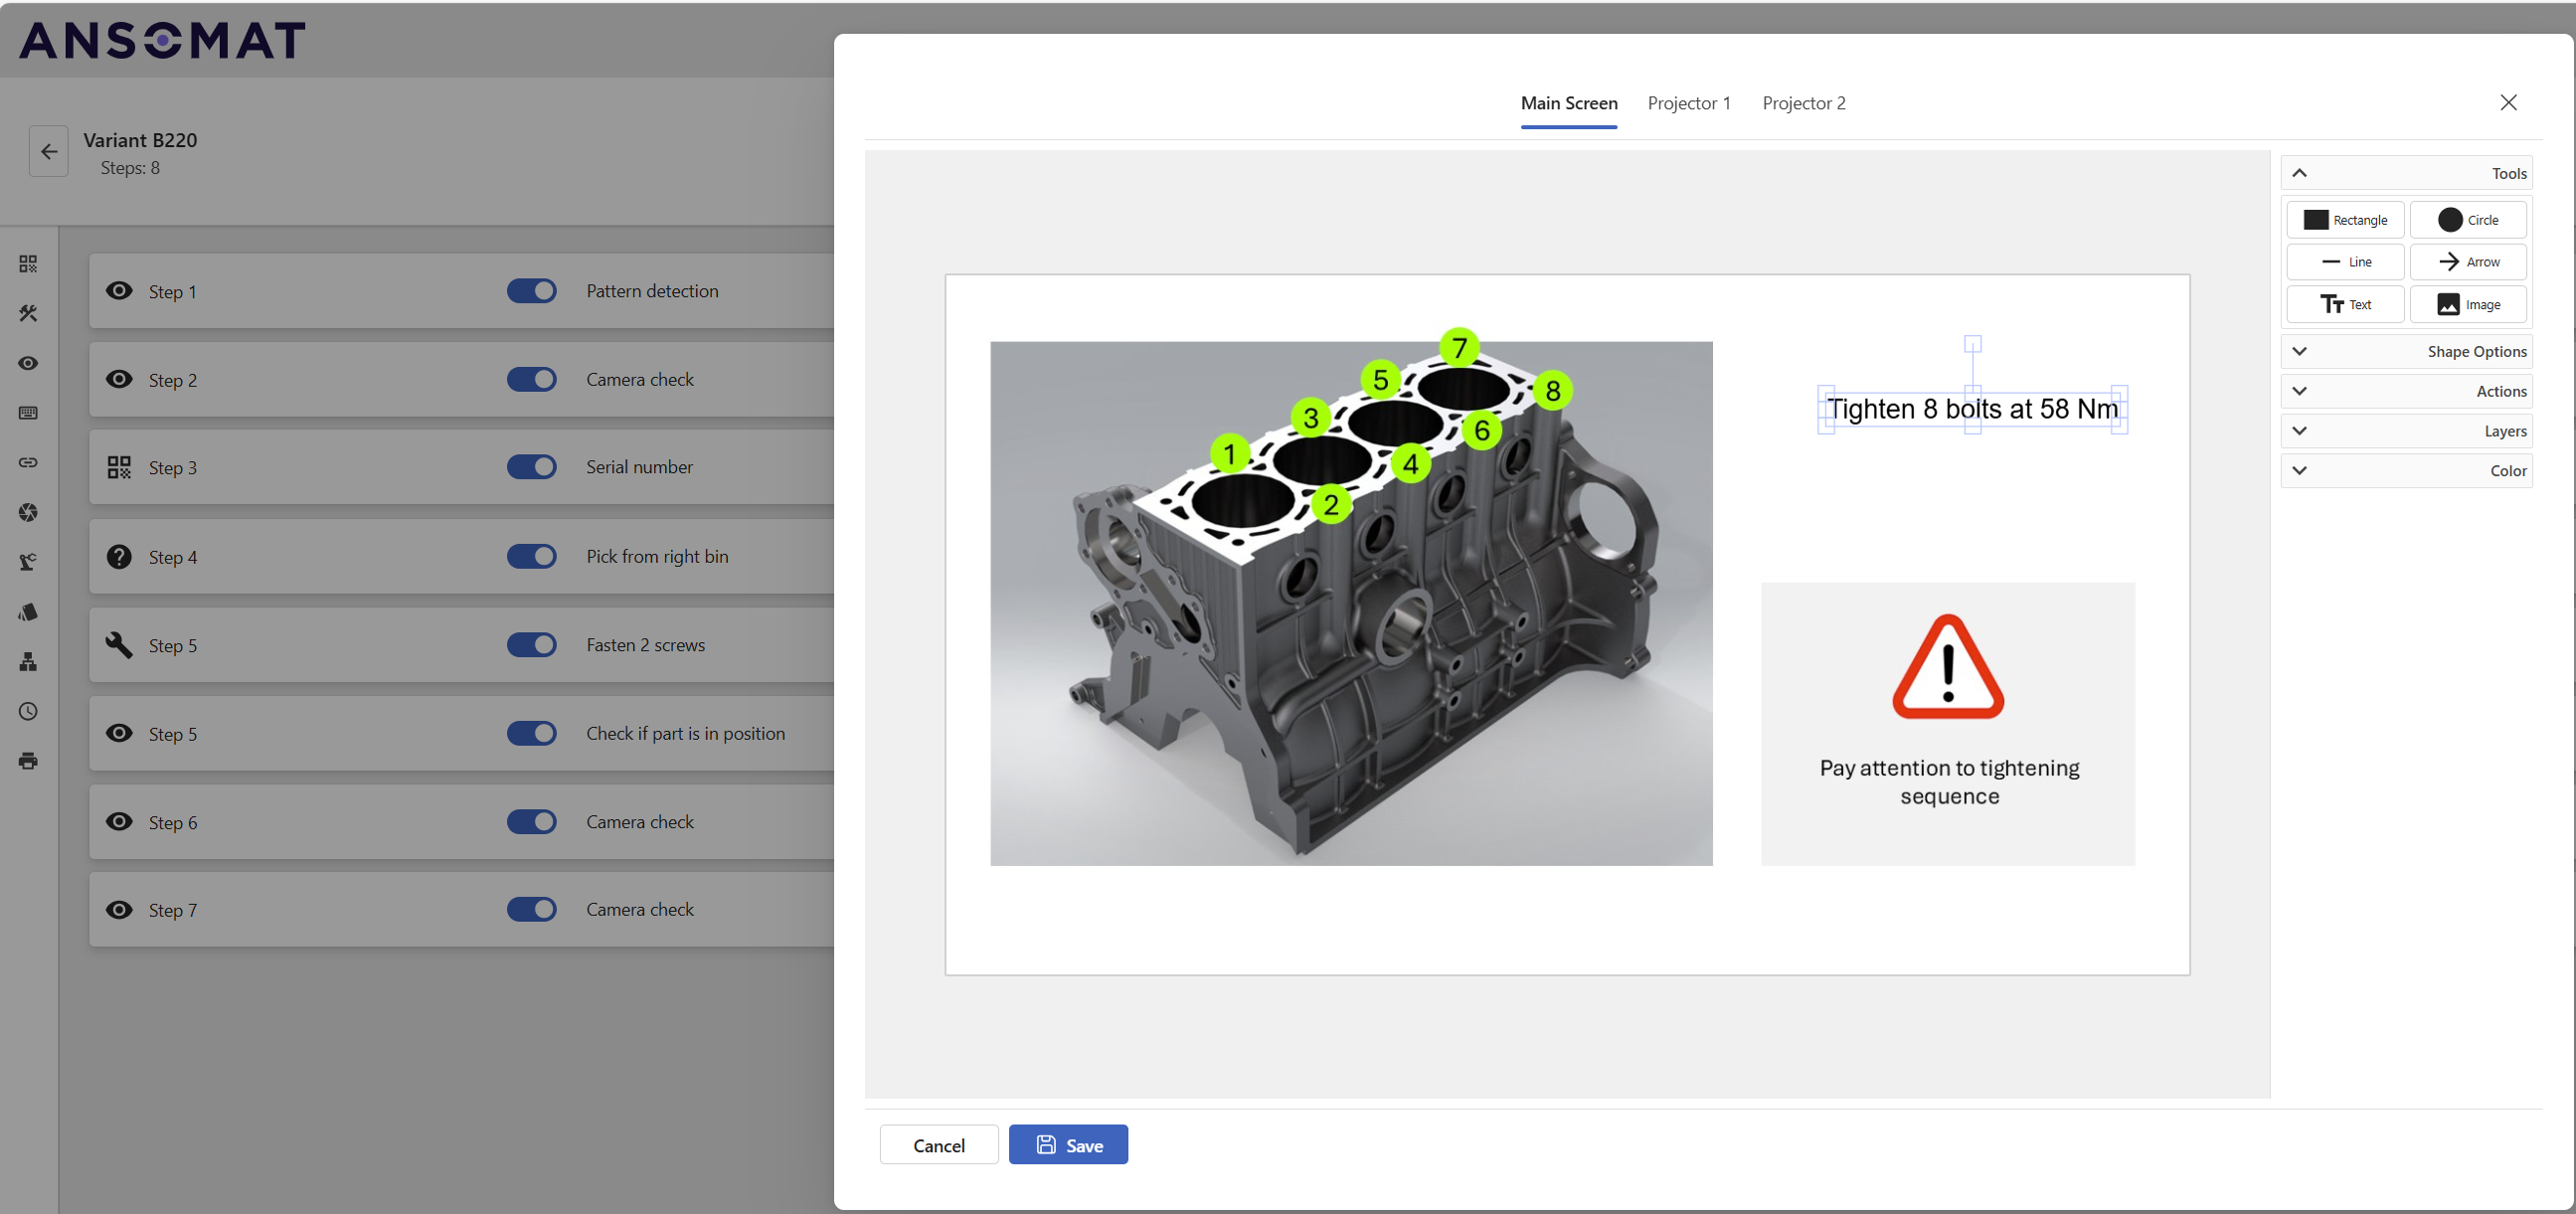
Start small, but always design with scalability in mind. Modern manufacturing work instructions should go far beyond static text documents or PDF files. With the right digital work instruction software, instructions become interactive, visual, and data-driven, actively guiding operators through each step of the process.
Below are several core instruction types you can introduce quickly and with minimal effort to start building effective digital manufacturing work instructions. These fundamentals form the basis for scalable, future-proof shopfloor digitization.
a. Visual instructions
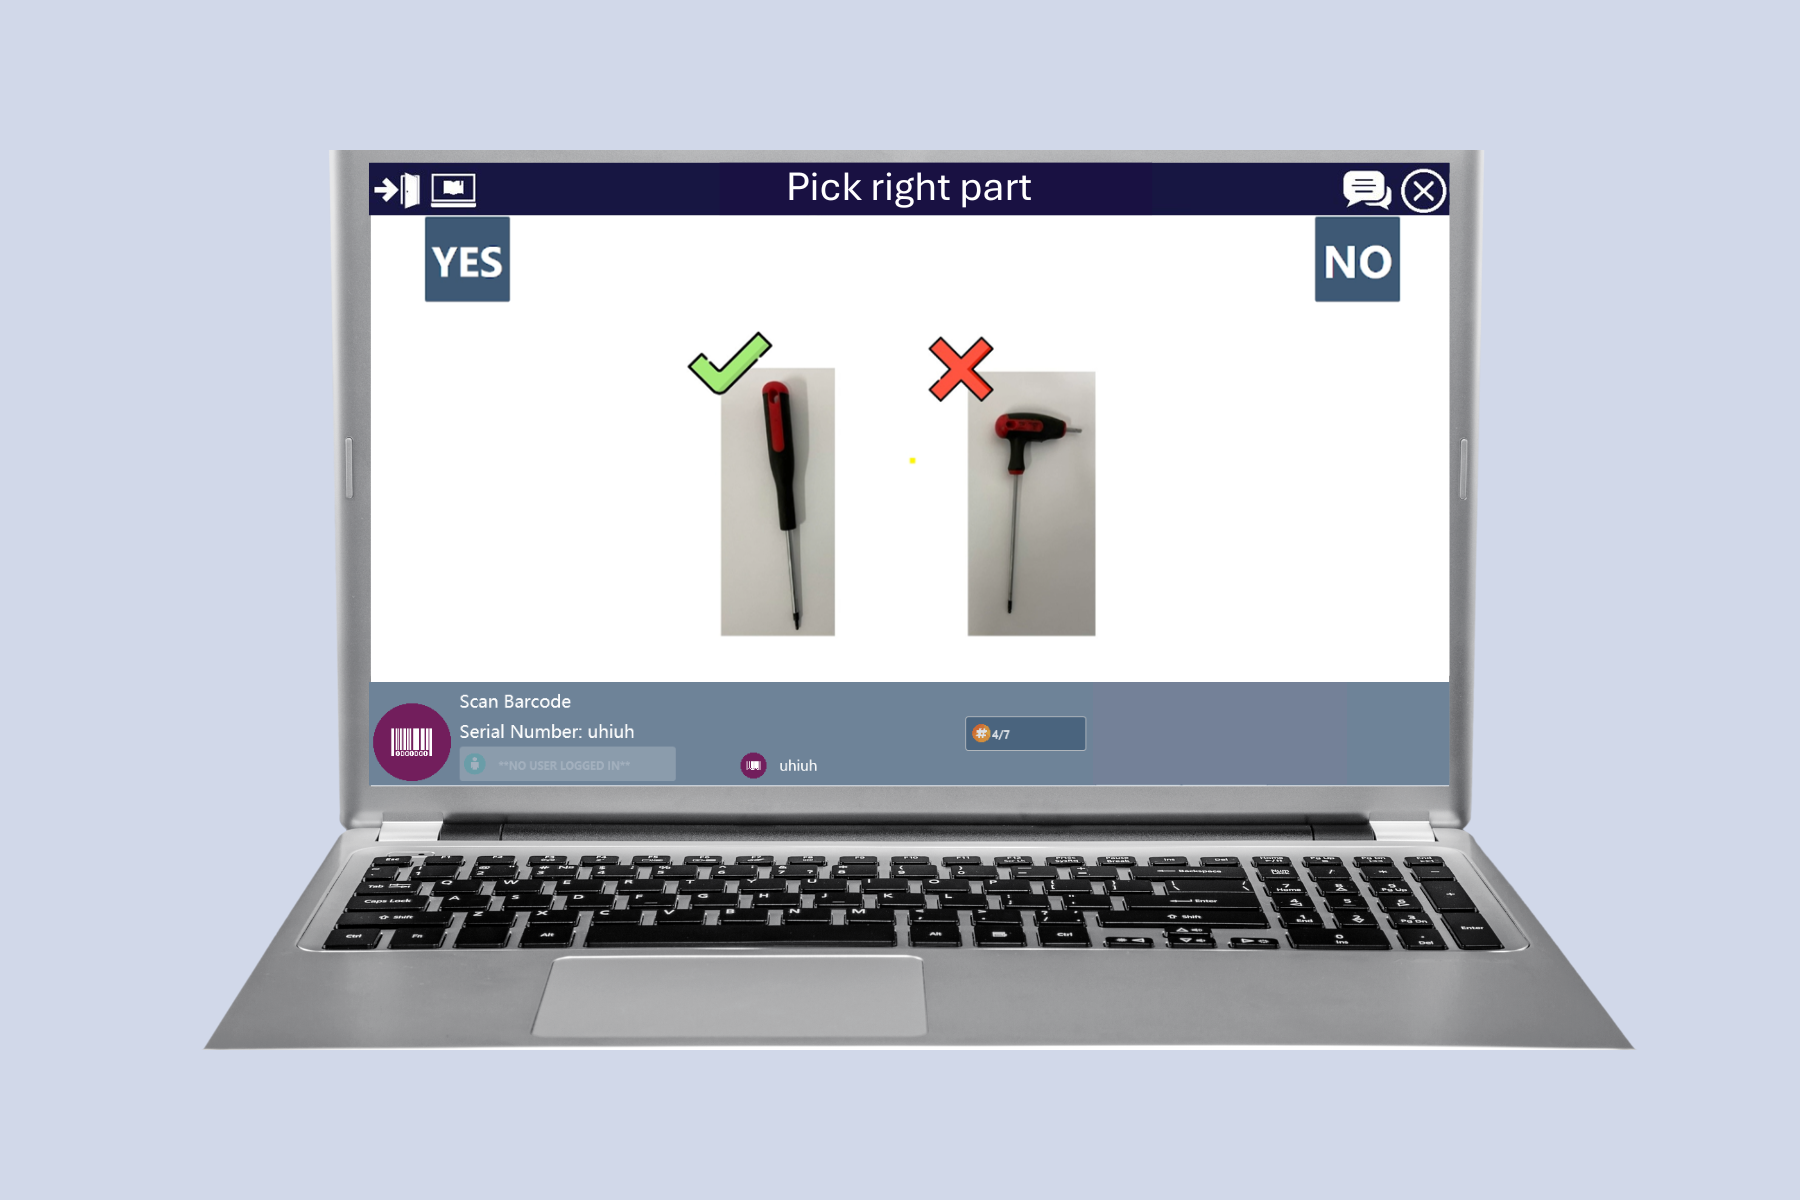
b. Question-based steps
c. Value input steps
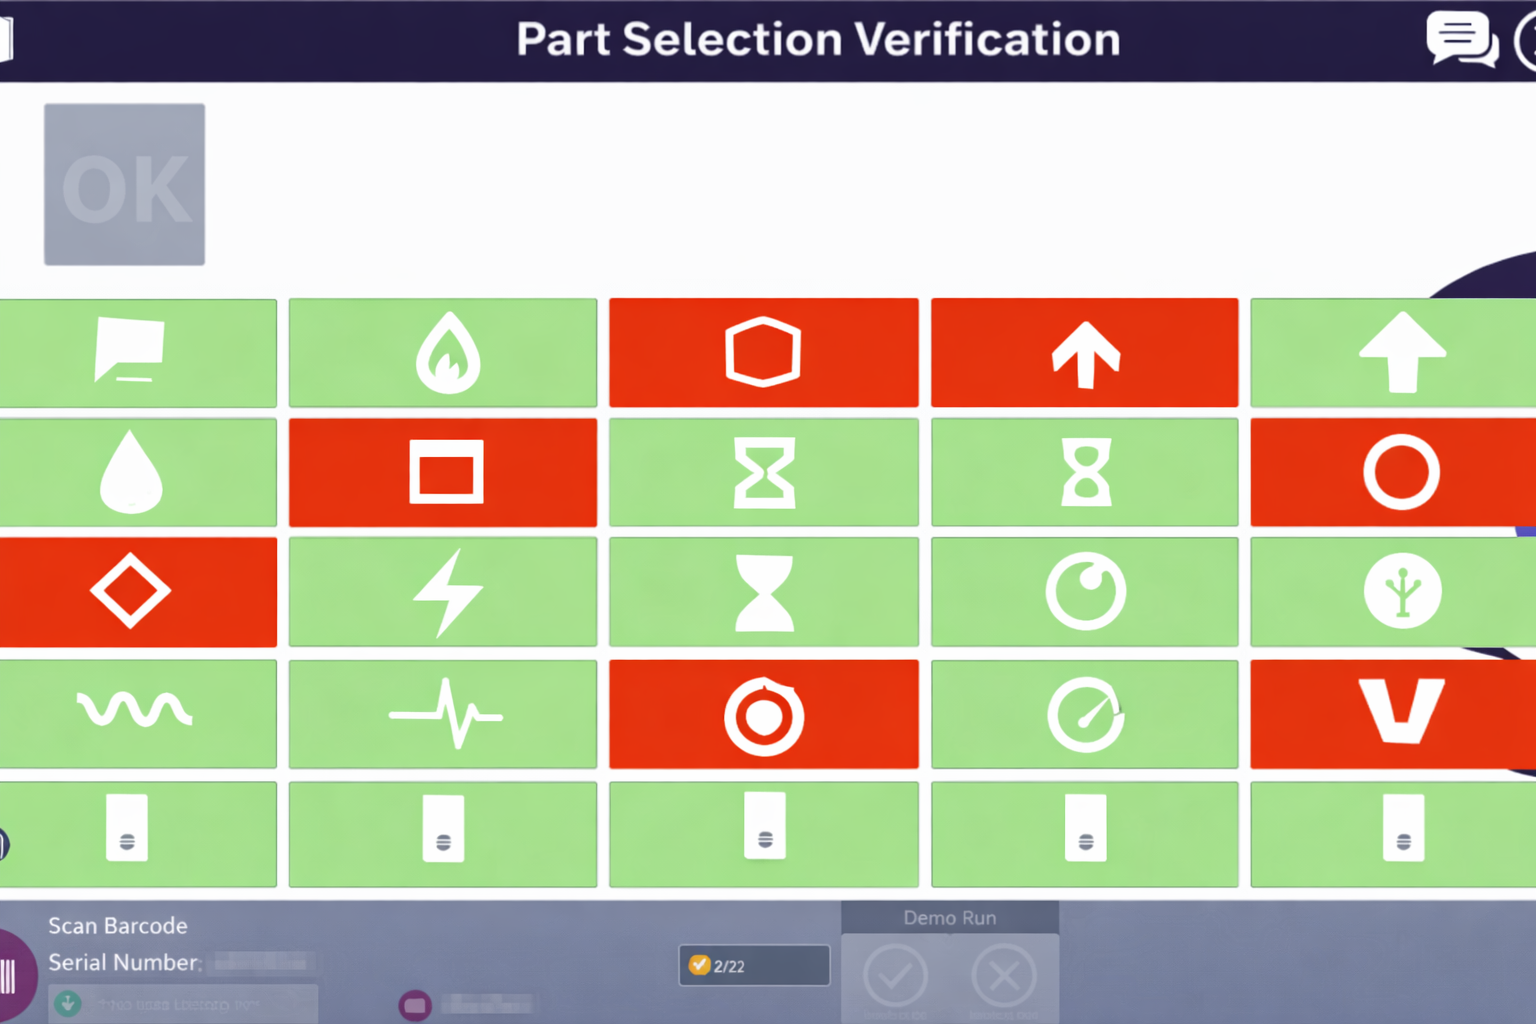
d. Digital checklists
e. Team leader validation
f. Result & summary step
Digital instructions become more powerful when adapted to the user.
This flexibility supports both training and operational excellence.
Paper instructions rarely reflect what is actually used on the shopfloor.
With digital work instructions you can:
Manage all your work instructions efficiently through a centralized management system. From a single platform, you can create, update, approve, and distribute digital work instructions—eliminating fragmented documentation and local workarounds.
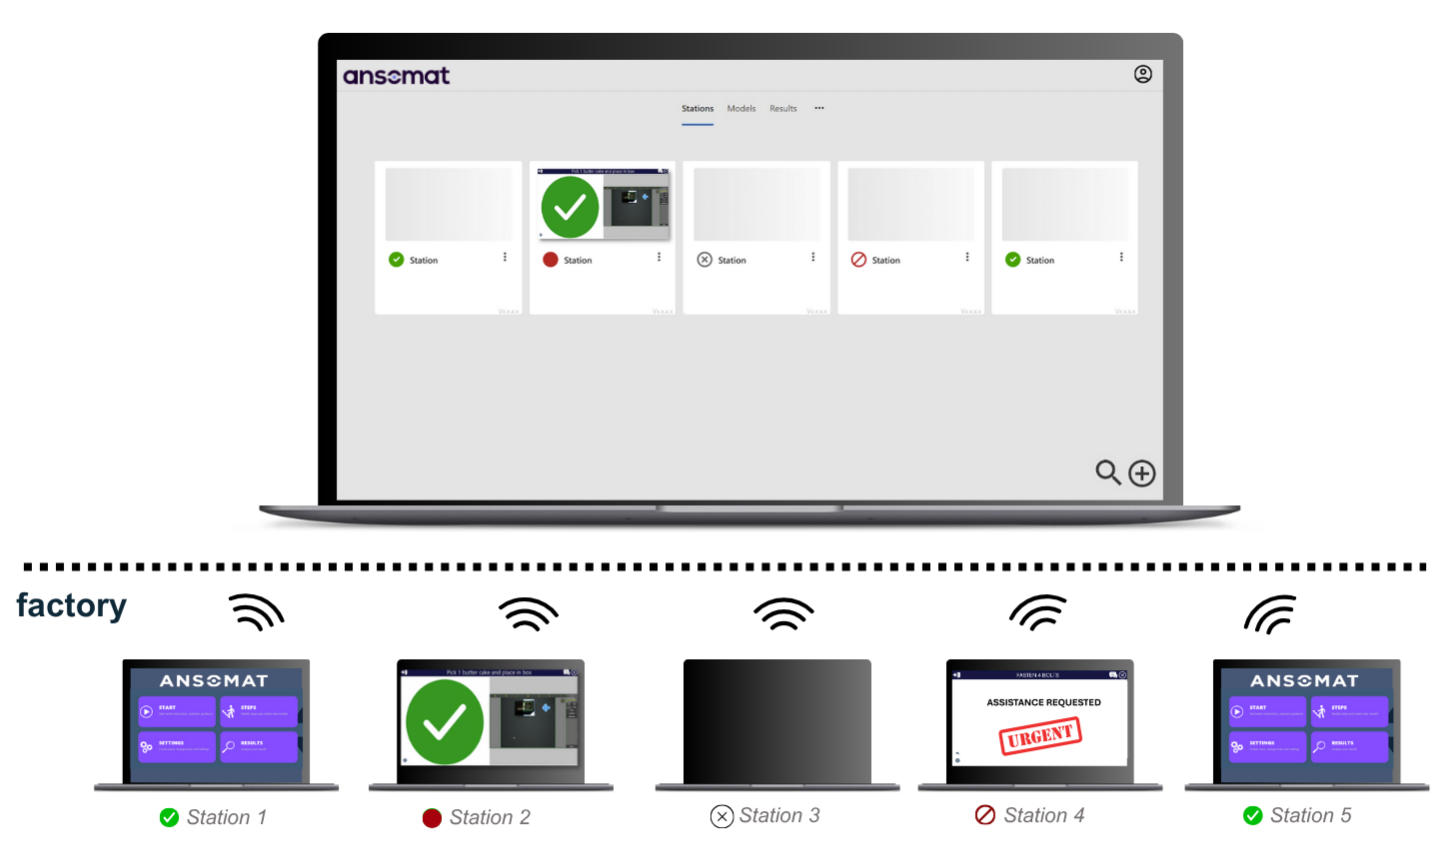
The result:
A scalable instruction management approach that delivers global consistency, local flexibility where required, and a strong foundation for continuous improvement across all sites.
Phase 1 is the foundation.
Once work instructions are digital, structured, and controlled, you unlock the ability to add smart tools, quality checks, automation, and continuous improvement in later phases.
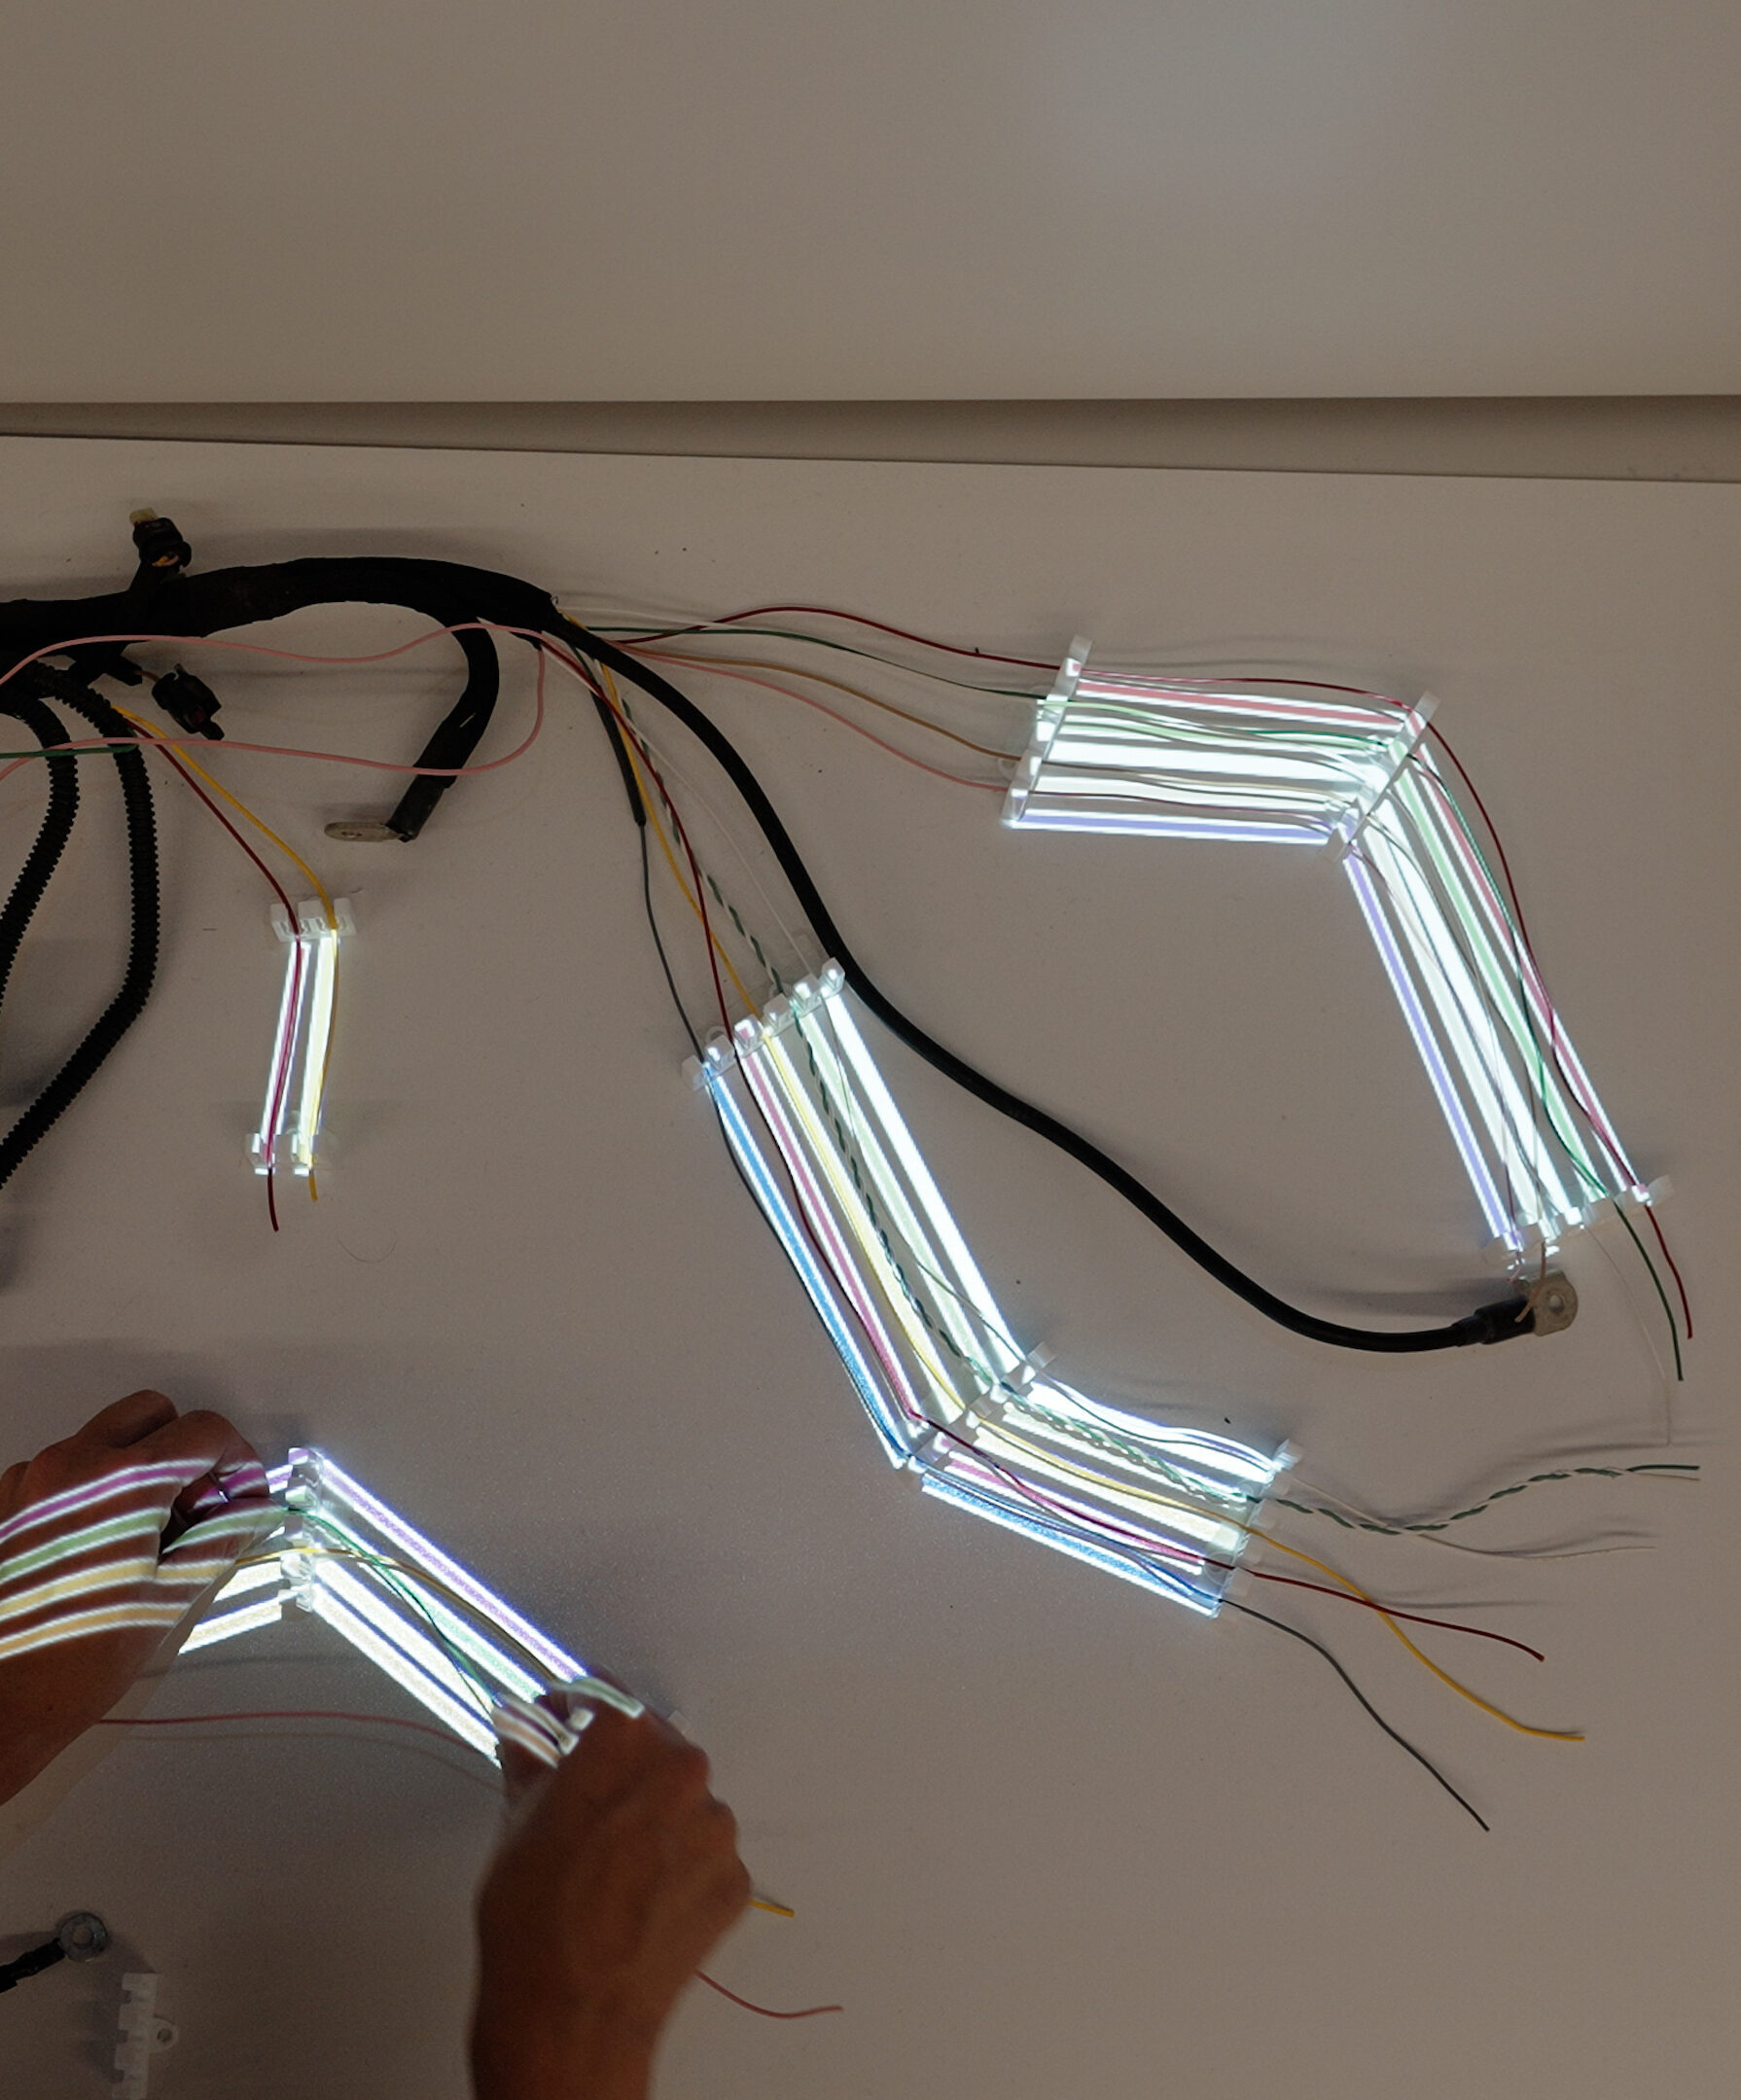
Once work instructions are digitized, the next step is to bring them directly into the operator’s field of view using augmented reality work instructions. By projecting digital guidance onto the physical workspace, AR in manufacturing removes the gap between instruction and execution.
An AR projector is connected directly to the workstation:
Using this setup, AR work instructions are overlaid directly onto the product or workstation, guiding the operator step by step in real time.
Each process step can include a combination of dynamic visual cues, such as:
All visuals are dynamically linked to the active process step and automatically update as the operator progresses through the workflow.

Implementing AR projector–based work instructions does require some initial configuration:
However, this effort is easy to manage:
The result:
A modest upfront investment in augmented reality work instructions that quickly pays back through higher quality, faster execution, and increased operator confidence—making AR in manufacturing a practical, scalable enhancement rather than a complex technology project.
Once work instructions are digitized and projected directly into the work area, the next step is to connect smart tools to the operator workflow. This phase transforms digital instructions from static, guided information into a fully interactive and data-driven process.
By integrating tools directly into the operator guidance platform, every process step becomes measurable and verifiable. Each step can be:
This creates a closed-loop execution environment where quality, speed, and compliance are built into the process by design.
Not every smart tool requires heavy integration or long setup times. A successful approach is to start with plug-and-play devices and gradually move toward more advanced automation as your digital maturity and business objectives evolve.
| Tool | Description | Installation / Setup Time |
| Barcode Scanner | Scan parts, batches, or steps | Plug & play |
| Stream Deck | 6 dynamic physical buttons per process step | Plug & play |
| User Card Identifier | Operator identification & traceability | Plug & play |
| Physical Confirmation Button | Confirm step completion | Plug & play |
| Webcam | Take pictures for quality evidence | Plug & play |
| Printer | Label printing via standard integrations | Plug & play |
| Projector | Projects instructions onto work area | Medium (visual setup ~2 min/step) |
| Tightening Tools | Capture torque & angle values | Easy with Open Protocol |
| Machine Vision | Automatic step verification | More advanced (teaching required) |
| RTLS | Asset and tool tracking | Advanced (anchors & calibration) |
| Cobot / Robot | Semi-automation & human-robot collaboration | Advanced (programming + MQTT) |
By structuring your smart tool adoption by installation and setup complexity, you avoid unnecessary risk while continuously increasing process intelligence. Each added tool strengthens:
The result:
A scalable smart tool ecosystem that grows with your organization—starting simple, delivering immediate value, and evolving toward advanced, connected manufacturing without overwhelming your teams.
Build the foundation first. Scale with confidence.
Digital transformation on the shopfloor does not start with automation, it starts with clarity, structure, and control.
By following this phased roadmap:
Phase 1 is the foundation.
Everything else builds on it.
You can begin trialing Phases 1 and 2 immediately with nothing more than a PC and a second screen or projector. No complex setup or infrastructure is required.
Even Phase 3 can be explored through demos or trial environments, allowing you to test key functionalities, make the solution accessible to your team, and establish your first pilot with confidence.